Showing posts with label Tutorial. Show all posts

Sunday, December 18, 2011

Love Cocoon

This is the 1st baby cocoon I have made but I love it so much I think I'm going to need to make more.
 I found the pattern on Ravelry its a knitting and crochet site and you can find just about any pattern you want on there.
I am using Natalie's bitty baby for the pictures since my little guy isn't born yet.


This will look better on a real baby because real babies don't have hard plastic arms and legs.
The yarn I used is Malabrigo worsted yarn (its wool from a Marino sheep very soft and warm. If you didn't know wool is also fire retardant so very safe for babies. On the down side this yarn is hand wash only and so is most wool), color Marron Oscuro
and I used size 13 needles and knit in the round.
This pattern is for new born babies.
I started by casting on 40 stitches and knitting in the round till I had it 14'' long
and for the decrease sequence
R1: *K8, K2tog, repeat around from* (36 stitches remain)
R2: K all stitches
R3: *K7, K2tog, repeat around from* (32 stitches remain)
R4: K all stitches
R5: *K6, K2tog, repeat around from* (28 stitches remain)
R6: *K5, K2tog, repeat around from* (24 stitches remain)
R7: *K4, K2tog, repeat around from* (20 stitches remain)
R8: *K3, K2tog, repeat around from* (16 stitches remain)
R9: *K2, K2tog, repeat around from* (12 stitches remain)
R10: K all stitches
R11: K2tog around (6 stitches remain)
R12: cut 6” tail to weave through eight remaining stitches.


the link to the official pattern for the laurel love cocoon  
The link has a picture of a real baby in the cocoon. Its just so very cute! 
Not to mention a very fast easy project.
If you are having a baby or know someone who is having a baby you should make this or have someone like me make it for a small fee. 
If you have any Questions about the project or want me to teach you to knit just ask. I love to help with knitting and also teaching how to knit.

Sunday, December 11, 2011

Paper Ornament Tutorial

I saw this on Etsy and said I can make it. And guess what? I did! So I am going to share with you how I made the paper ornament from start to finish.
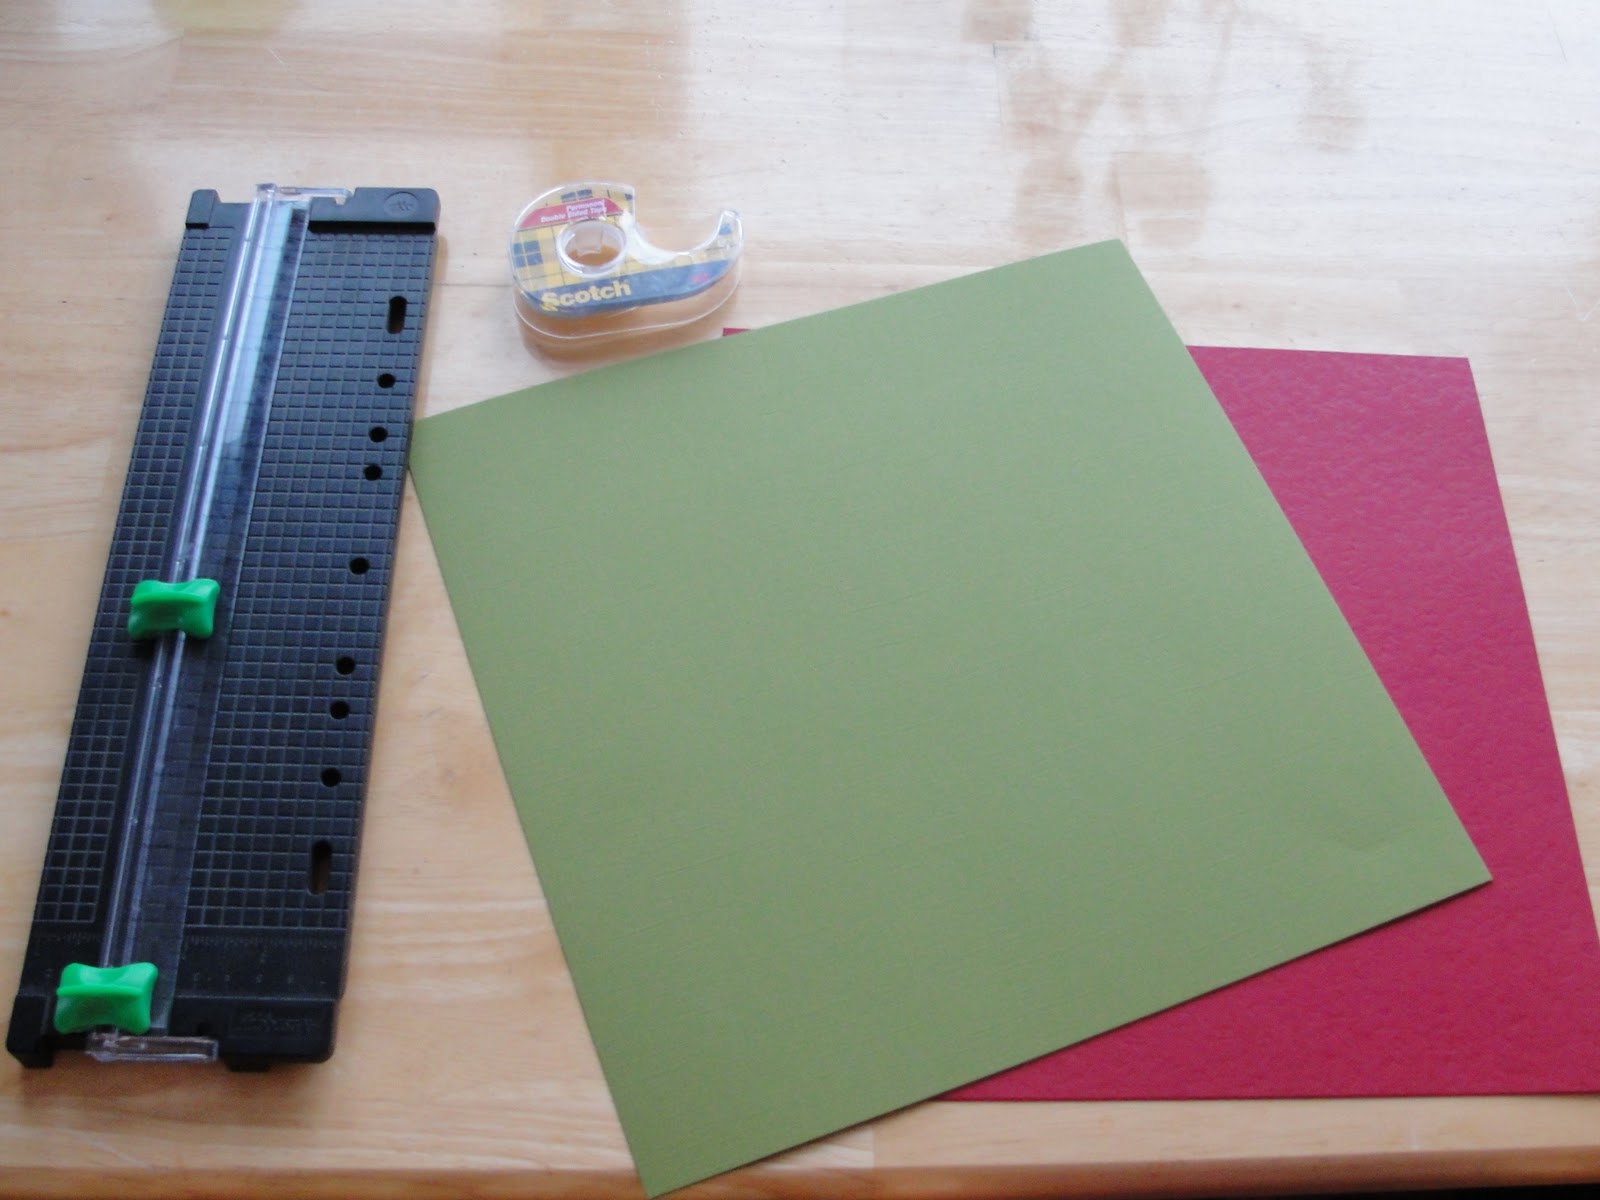
What I used for the project was my paper cutter (it has a ruler on it), double sided tape, regular tape and paper. I used tape because I do not have a stapler so I was just using what I had on hand. But if you have a stapler you can use that instead of tape and if you don't have a paper cutter you will need a scissors and a ruler.
I started by Cutting the paper in to 1 inch strips
And once I had the one inch strips I could cut them to the sizes I needed. You can use just about any sizes you want but I will tell you the sizes that I use for this project. I had one 5 inch strip, two 6 inch strips, two 7 inch strips and two 8 inch strips. so each set of strips is one inch longer then the one before it.
This next step I took the 5 inch strip and put double sided tape on both side of one end. Then I took the 6 inch strips and matched up the ends so they stuck on the tape.
You do that till all of them are attached on the same end. With the smallest piece in the middle and the longest on the outside.

Once you have the one end all even and put together smallest in the middle growing to longest on the outside you can staple them together or wrap a piece of tape around at the end this keeps it from coming apart. Now we do the same thing on the other side. Putting double sided tape on both sides of the ends of the 5 inch long strip of paper. Once you have the tape on you can take the 6 inch long paper and match them up on the tape so they are stuck together. Once this is done it will start to take shape.
Next you put the double sided tape on the outside of the 6 inch strips so you can stick the 7 inch strips to the 6 inch strips. You do that one more time by putting tape on the outside of the seven inch strips and the sticking the 8 inch strips to them making sure as you do this that all of the ends are matching up.
Now that you are done all you have left is to tape or staple the ends of this side. Then add string so you can hang it up. I'm going to hang mine in my picture window, but they can be hung from the Christmas tree or from the ceiling. They can also be made in different sizes.
    I hope you have enjoyed my very first Tutorial. If you have any questions just ask.